
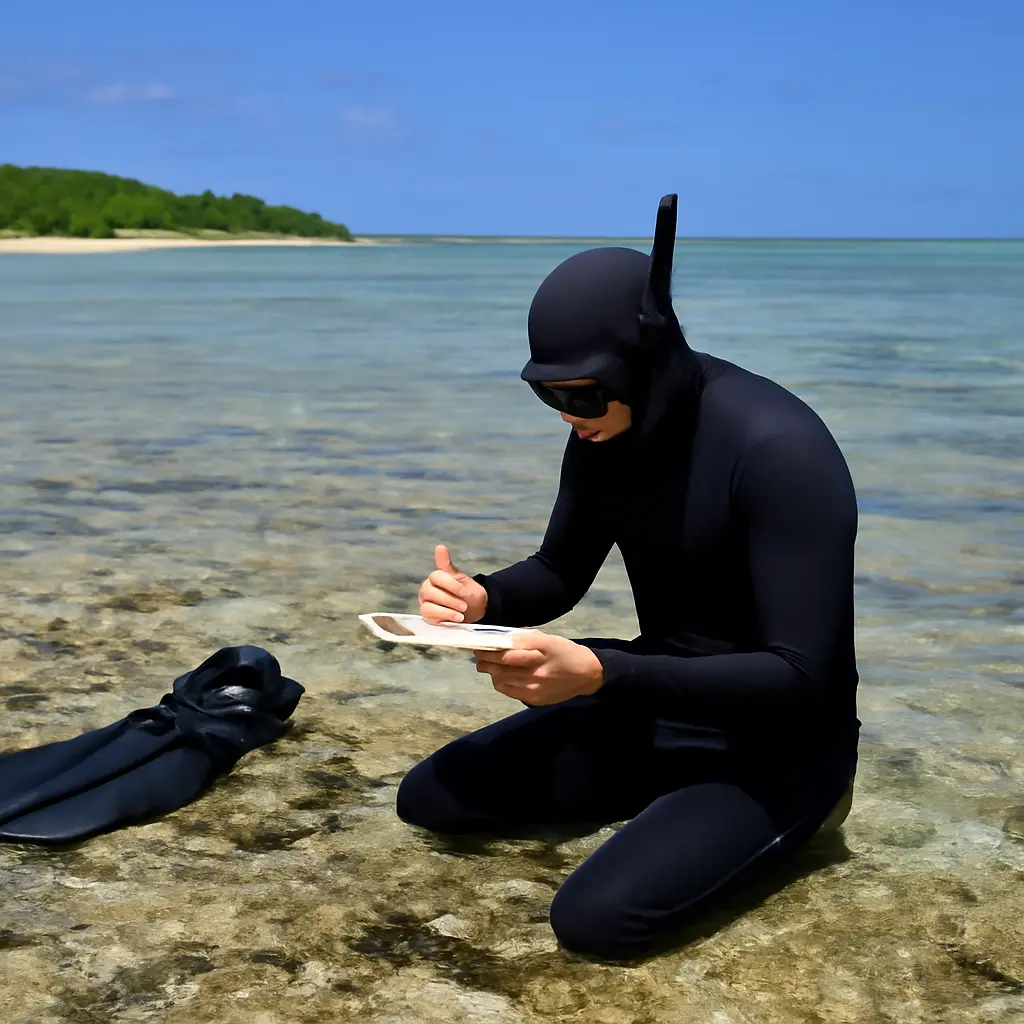
Snorkeling field notes are a structured record of what you observe, photograph, and where and when you observe it. Documenting an encounter like a marine photographer means combining respectful in-water behavior with clear images and reliable captions: identify the animal cautiously, record habitat and conditions, and preserve the original context. This approach matters beyond personal memory: NOAA estimates that about 8 million metric tons of plastic enter the ocean each year, while long-term, well-labeled observations can help people communicate changes in marine life and habitat. The sections below explain how to plan an encounter, photograph it responsibly, build useful records, and share images without overstating what they show.
Planning snorkeling encounters as photographic fieldwork
A snorkeling encounter record is a dated, place-based account of an observation made at the water’s surface or underwater, supported by notes and, when possible, photographs. It is not simply a collection of attractive pictures: useful documentation connects an image to its time, location, subject, habitat, and observing conditions. The National Geographic Society’s wildlife-photography guidance emphasizes minimizing disturbance and putting animal welfare ahead of a photograph; that principle applies equally to snorkelers.
The main forms of documentation include a visual field log, a photo sequence, a species or habitat checklist, and a citizen-science submission. They differ in detail, but all benefit from consistent metadata and cautious identification. Before entering the water, check local rules, weather, currents, visibility, and marine-life advisories. Never snorkel alone, and do not enter conditions beyond your training or ability.
A field log: the context behind the image
A field log is a short written record that preserves information a photograph may not show. Note the date and local time, site name or approximate coordinates, water depth if known, visibility, sea state, light, and habitat—such as a rocky shore, seagrass bed, reef, or sandy bottom. Add the subject’s behavior and direction of travel, but distinguish direct observation from interpretation.
For example, write “small fish hovered above branching coral” rather than “fish were nesting” unless you observed clear evidence of nesting. NOAA’s Coral Reef Conservation Program identifies coral reefs as valuable ecosystems that support marine life and coastal communities; careful habitat notes help place an encounter in that broader ecological setting. Avoid touching, standing on, or collecting from reefs while documenting them.
A photo sequence: behavior rather than a single trophy frame
A photo sequence is a set of frames that records an animal or scene over time. A wide view can establish habitat, a medium view can show the subject’s position, and a closer image—only if the animal remains undisturbed—can capture identifying features. This sequence often tells a more useful story than a tight portrait alone, especially when the subject’s movement or interaction is relevant.
Keep a safe distance and let wildlife choose whether to approach. Do not chase, corner, feed, touch, or block an animal’s route. The National Oceanic and Atmospheric Administration (NOAA) warns that disturbing wildlife can cause stress and alter natural behavior; local protected-area rules may set additional distances or prohibit photography in particular situations.
Photographing snorkeling encounters with care
Underwater photography is the practice of making images below the surface while managing light, movement, water clarity, and the photographer’s effect on wildlife. Water absorbs and scatters light, so colors and contrast diminish with distance; getting closer can improve image quality, but only when doing so does not disturb the subject. A longer lens, careful framing, or a wider environmental image is preferable to pursuing an animal.
The most useful categories are environmental portraits, behavior documentation, habitat records, and identification images. Each has a different purpose: an environmental portrait shows an animal in its setting, a behavior frame records an action, a habitat image documents the surrounding ecosystem, and an identification image captures diagnostic details. These categories can be combined, but the record should make clear what the photograph can—and cannot—establish.
Environmental portraits and habitat context
An environmental portrait shows a subject together with enough of its surroundings to provide ecological context. Include habitat features such as seagrass, reef structure, or open water when they help explain where the encounter occurred. Keep the composition honest: avoid moving organisms or objects to improve the frame, and do not remove natural elements from the scene.
A wide-angle view can communicate scale and setting, while a close-up may reveal markings or body features. If using artificial light, use it sparingly and follow local guidance, since bright or repeated flashes can affect animals and other snorkelers. The image should support the field notes, not replace them.
Behavior and identification photographs
A behavior photograph documents an observable action—such as feeding, schooling, resting, or moving through habitat—without claiming more than the frame proves. An identification photograph prioritizes features used to distinguish an organism, such as body shape, fin arrangement, markings, or coloration. Take multiple angles only when the animal is comfortable and the conditions are safe.
Species identification can be uncertain because juveniles, changing light, distance, and similar-looking species complicate comparison. Use a regional field guide or a trusted biodiversity database, and label uncertain records at the lowest confident level—for example, “parrotfish, species uncertain.” iNaturalist guidance encourages users to provide clear photographs and location information while recognizing that community identification is not a substitute for expert verification in every case.
Building reliable snorkeling records and captions
A reliable encounter record combines an image with metadata: the facts that describe when, where, and how the image was made. Useful metadata include date, time, location precision, habitat, water and weather conditions, camera settings if available, and identification confidence. Because a photograph can be copied or edited, preserve the original file and keep notes about any cropping, color correction, or other changes.
The record types that work best together are a field notebook entry, a caption attached to the image, and a backed-up digital archive. A caption should answer the basic questions—what, where, when, and how certain—without turning an observation into an unsupported scientific conclusion.
Captions that separate observation from interpretation
A documentary caption describes visible evidence and identifies uncertainty. One practical format is: “Observed [organism or best-supported identification] at [site or appropriately generalized location], [date and time]. It was [visible behavior] in [habitat]; identification confidence: [high, moderate, or low].” Add relevant conditions, such as limited visibility, when they affect interpretation.
For example: “Green sea turtle, likely juvenile, swimming over seagrass near the public access area, 10:20 a.m.; identification based on visible shell and head markings; no interaction.” If the species is uncertain, say so. Avoid claiming that an animal is injured, nesting, or behaving unusually unless the evidence supports that conclusion and, where appropriate, a qualified authority has assessed it.
Location data, privacy, and archival practice
Location data can make observations scientifically useful, but precise coordinates may expose sensitive wildlife sites or a person’s private information. Before posting, check whether a species or location should be generalized, especially for vulnerable animals, nesting areas, or restricted habitats. Follow the rules of the protected area and the policies of the platform receiving the record.
Back up original files in at least two places, use descriptive file names, and retain a simple index linking each image to its notes. Keep edits non-destructive where possible so that the original remains available. These habits make it easier to revisit an identification, correct a caption, or submit a usable observation to a monitoring project.
Sharing observations for conservation and learning
Sharing snorkeling records can support education, natural-history documentation, and community science when observations are accurate, responsibly collected, and submitted through suitable channels. A single photograph rarely establishes a population trend or environmental cause. Repeated observations collected with consistent methods are more informative, and formal conclusions require appropriate sampling and analysis.
Citizen-science projects vary in purpose: some help identify species, others record reef condition or sightings over time. Before contributing, read the project’s instructions, required fields, and verification process. Do not disturb wildlife to obtain a requested image, and report potentially harmful activity or an animal in distress to local authorities rather than attempting a rescue yourself.
A practical example: documenting a reef encounter
Imagine seeing a sea turtle swimming above a reef. First, maintain distance and observe its route without following or surrounding it. Make a wide frame that shows the reef, then take a brief identification image if the turtle remains undisturbed. Record the time, site, habitat, visibility, and visible behavior, and note whether the identification is certain or tentative.
After the swim, compare the image with a reputable regional guide, retain the original file, and write a caption that reports only what was observed. If contributing to a database, provide location detail only at the level permitted by the project and local guidance. This process creates a useful record while keeping the animal’s welfare ahead of the photograph.
Conclusion: make every snorkeling encounter a responsible record
Documenting snorkeling encounters like a marine photographer means combining a field log, thoughtful photo sequence, accurate metadata, and careful sharing. Habitat context makes images more informative; ethical distance protects wildlife; and precise captions distinguish what the observer saw from what they infer. These habits matter for personal learning as well as for community science, where trustworthy records depend on context and consistency.
Before your next snorkel, prepare a simple note template, review local wildlife rules, and choose a backup method for your original files. For further reading, consult NOAA’s wildlife-viewing and coral-reef resources, a regional marine-life identification guide, and the instructions of a reputable citizen-science project.
Sources: National Oceanic and Atmospheric Administration, “What We Do to Protect Coral Reefs,” https://oceanservice.noaa.gov/ocean/corals/; National Oceanic and Atmospheric Administration, “Ocean Pollution,” https://oceanservice.noaa.gov/hazards/pollution/; National Geographic Society, “Wildlife Photography,” https://www.nationalgeographic.org/encyclopedia/wildlife-photography/; iNaturalist, “How to Make a Good Observation,” https://www.inaturalist.org/pages/help#quality; National Oceanic and Atmospheric Administration, “Marine Life Viewing Guidelines,” https://www.fisheries.noaa.gov/topic/marine-life-viewing-guidelines.


